Bosca Ceoil: Overview
UPDATE: This tutorial is for version 1.0 of Bosca Ceoil, and is out of date! Bosca Ceoil v2.0 has an up to date tutorial built in – you can download it from here: boscaceoil.net
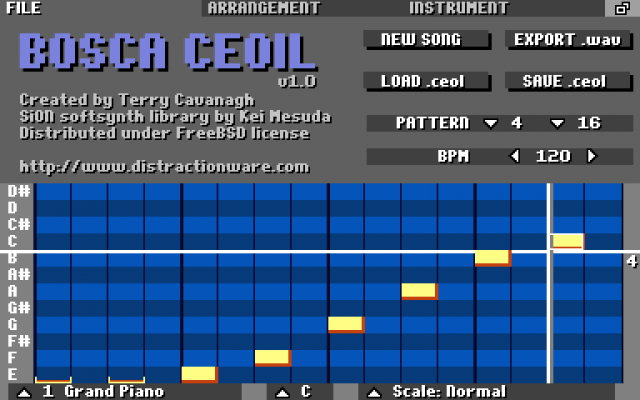
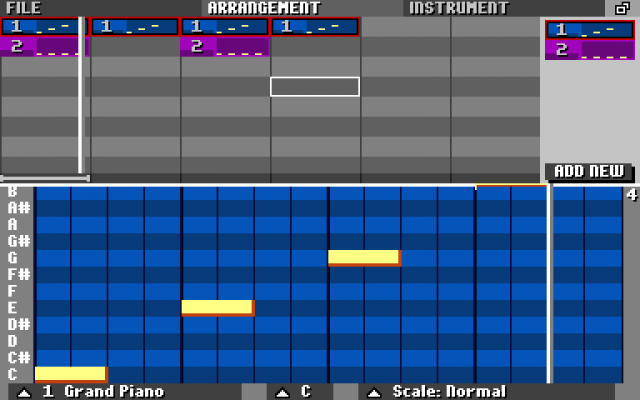
Hello! Here’s a really quick guide to getting started with Bosca Ceoil. When you first start, you’ll see a screen like this:

You can actually start putting down some notes right away! LEFT CLICK anywhere in the bottom half of the screen to put down some notes, like above for example.
You can access higher and lower notes by pressing UP and DOWN.
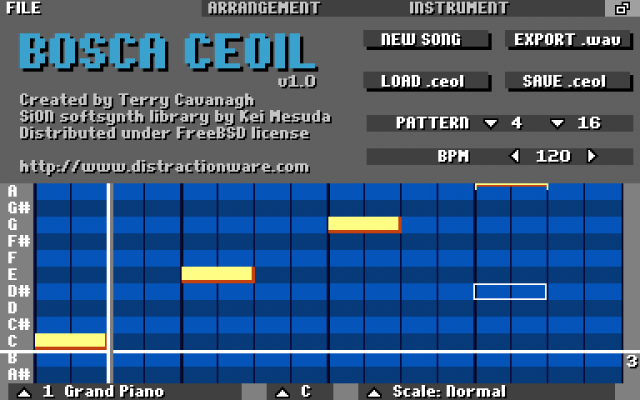
You can delete notes by RIGHT CLICKING, and change the note size with the SCROLL WHEEL. (If you don’t have a right mouse button or a scroll wheel, you can CTRL+LEFT CLICK to delete notes, and press SHIFT+ARROW KEYS to change the note size.)
Ok, cool! That’s nice and all, but there’s not much to it with just that one instrument. Let’s create a new one. Click on the INSTRUMENT tab at the top of the screen:
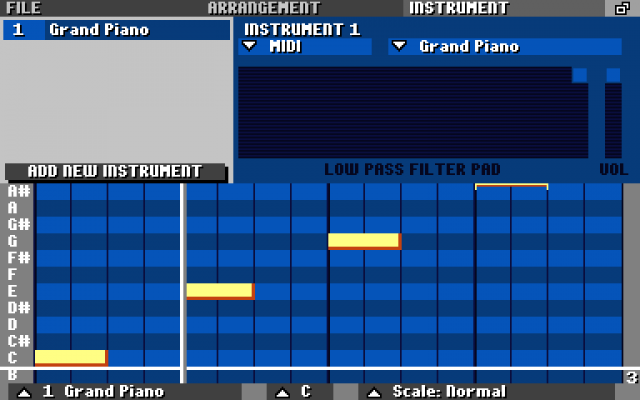
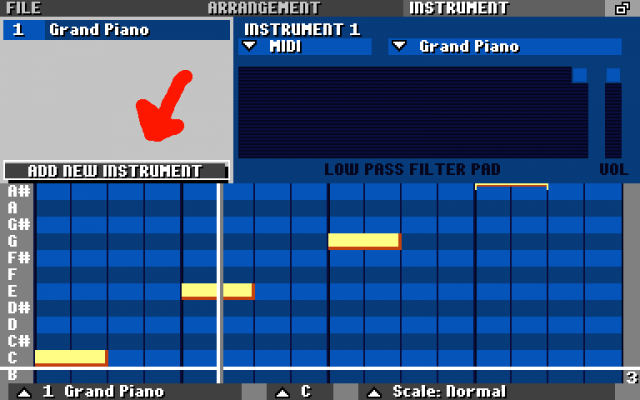
Then click on “ADD NEW INSTRUMENT”:
You’ll be given a totally random instrument from the program’s presets! If you don’t like it, you can choose a new one from the drop down lists on the right:

Before we move on, make sure you’ve got the second instrument selected. Ok? Grand so. Time to make a second pattern! Click on the ARRANGEMENT tab.

We want to add a new pattern, so click ADD NEW on the right here – the new pattern will appear in the list on the right.

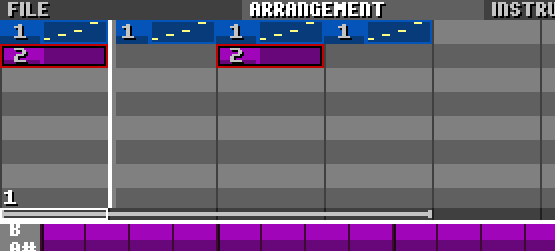
DRAG this over to below the pattern on the left, like this:

Cool! This is the main view you’ll be looking at most of the time. Put some notes down in the new pattern to hear the two playing together.

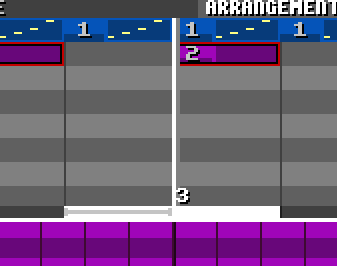
You can drag patterns around this view and place a sequence of them, like this for example:
Cool! You can also delete patterns from here with RIGHT CLICK (or CTRL+CLICK).
At this point you’ll probably have noticed that it’s just looping over the first column. Time to introduce the TIMELINE.
The TIMELINE sits at the bottom of the arrangement tab, and by default, it just loops over the column you select. Try clicking the narrow timeline on another column, like this:

To make it loop over a longer period, CLICK AND DRAG over the columns you want to loop.
A lot of the time you’ll just want the song to start playing from a particular point till the end of the song. To do this, DOUBLE CLICK on the timeline at the point you want to start on. To make it play the entire song, double click on the first column:
There’s one more concept you’ll want: duplicating patterns. Say you wanna make a new pattern, using an old pattern as the starting point. To do that, drag the pattern where you want it –

– and MIDDLE CLICK on it. (Or SHIFT+CLICK if you don’t have a middle mouse button). You can also MIDDLE DRAG a pattern to create a duplicate and place it somewhere.

And that’s it! That’s all you need to make music with this. Good luck, and I hope you make cool stuff with it!
BONUS TUTORIAL! Go make some music and come back later to read this stuff:
You can press SPACE or ENTER to stop and start the track. You can press LEFT and RIGHT to move along the arrangement view for longer tracks.
At the very bottom of the screen under the piano roll, you’ve got some useful controls – you can change the instrument, but also the key and the scale that’s in use. Try it!
The FILE page contains TEMPO controls, and also allows you to change the time signature by setting the pattern length.
You can RIGHT CLICK on a timeline section to delete that column, or MIDDLE CLICK to insert a new one.
Each instrument has two extra controls – a Low Pass Filter pad, and a volume control.
There’s actually a way to make the filter and volume controls change over the course of a pattern – select the pattern you want to enable filter recording on, and HOLD DOWN to scroll to the bottom of the piano roll. At the very bottom, there’s a hidden button to enable it. Now, if you change the filter settings while the song is playing, it’ll remember its settings at each given moment.
You can copy and paste patterns in the arrangement tab! When the timeline is highlighted, CTRL+C copies the currently looping section, and CTRL+V pastes.
As of version 1.01, there’s secret panel hidden on the file menu – select the file tab, and hold left. This allows you to mess with the buffer size (if you hear scratchs while exporting to wav, try increasing this), and also lets you try some experimental swing timing controls!